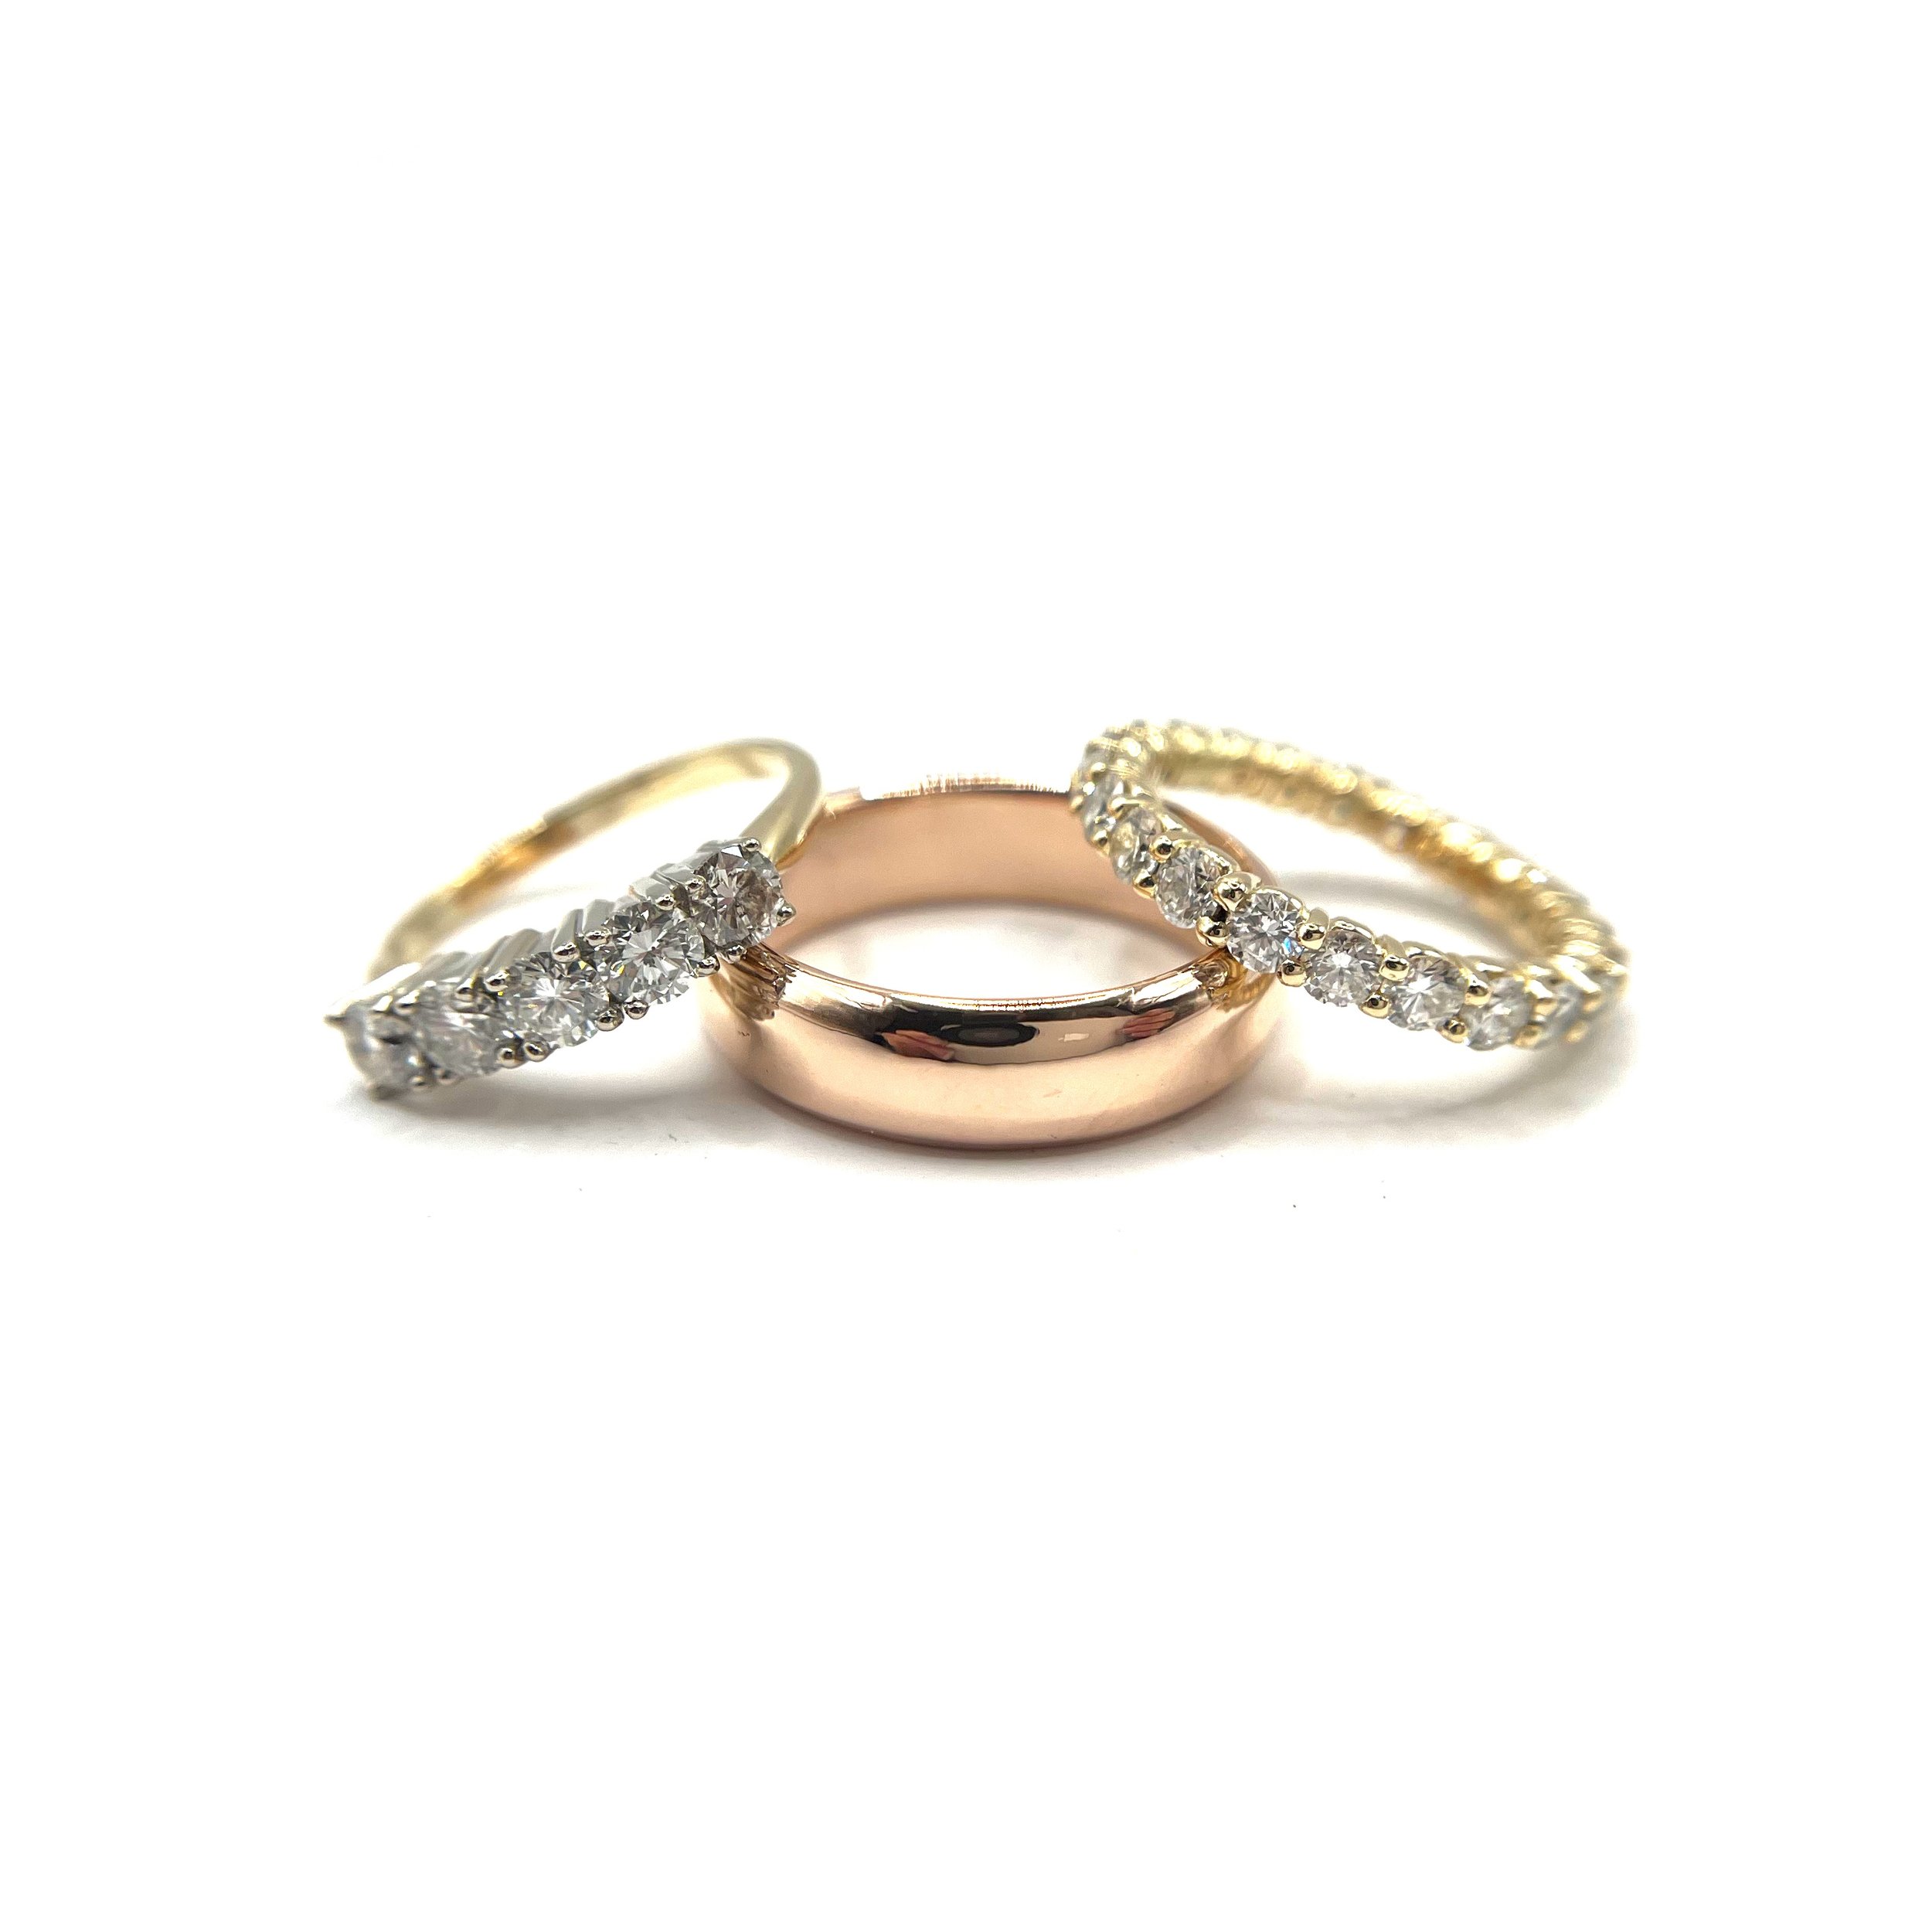
How We Resize a Ring: A Step-by-Step Guide From a Jeweler’s Bench
Rings hold deep sentimental value. Whether it’s an engagement ring passed down through generations or a new piece that just doesn’t fit quite right, resizing is often the key to making it perfect. At our jewelry studio, we approach ring resizing with precision, care, and respect for the piece’s original craftsmanship. Here's a behind-the-scenes look at how we resize a ring.
Why Resize a Ring?
Fingers change over time due to weight fluctuations, aging, pregnancy, or even weather. A ring that’s too tight can be uncomfortable or impossible to wear, while one that’s too loose can easily slip off and get lost. Resizing ensures the ring sits securely and comfortably on your finger.
Step 1: Assessment
Before we do anything, we carefully inspect the ring. We determine:
The metal type (gold, platinum, silver, etc.) and karat.
Whether there are stones that might be affected
The presence of engravings or intricate designs
How many sizes the ring needs to go up or down
Some rings, like eternity bands or those with tension settings, may require more complex solutions—or may not be resizable at all.
We always measure the finger the ring will go on with our precise finger gauges. It’s truly impossible to guess a ring size. If you’re having a ring resized as a surprise for someone else, make sure you know their ring size, or bring in a ring that you know fits their correct finger.
Step 2: Resizing Down (Making the Ring Smaller)
To make a ring smaller, we use one of two methods:
Compressing
This is only used for plain bands and small adjustments (typically up to half a size). The metal is gently compressed using a specialized tool.
Removing Metal
For larger size decreases or rings with stones:
We cut the band at the back and remove a small section.
The two ends are then joined together, realigned, and soldered.
We carefully reshape the ring back to a perfect circle.
After resizing, we file, sand, and polish the area to ensure the seam is invisible and the ring looks like new.
Step 3: Resizing Up (Making the Ring Larger)
To enlarge a ring, we use one of two methods:
Stretching
This is only suitable for plain bands and small adjustments (typically up to half a size). The metal is gently stretched using a specialized tool.
Adding Metal
For larger size increases or rings with stones:
We cut the band at the back and add a matching piece of metal.
The new section is soldered in place
The ring is then filed, and sanded to make the seam invisible
The we carefully reshape the ring back to a circle
Last, the ring is polished to look good as new
Step 4: Finishing Touches
After resizing, we always:
Check the integrity of any stones and settings
Polish the entire ring so the resize is seamless
Clean the ring in an ultrasonic bath to remove any excess polishing compound or debris
In most cases, you won't be able to tell the ring was ever resized.
Special Considerations
Some rings require extra care:
Engraved rings may need re-engraving where the band was altered.
Antique rings can be more fragile and need gentle handling.
If the ring shank has been worn too thin or has too many cracks, we might opt to replace half the shank or even the whole shank.
There are a few other alternatives to resizing, like installing sizing beads, re-shaping the bottom of the ring, installing a u-shaped spring, and altering the ring in other ways.
Final Thoughts
Resizing a ring isn’t just a mechanical process—it’s a blend of craftsmanship and care. Our goal is always to maintain the integrity and beauty of your jewelry while giving it the perfect fit.
If you have a ring that doesn’t fit quite right, bring it in! We’re happy to assess it and talk through your resizing options. Click here to book!
